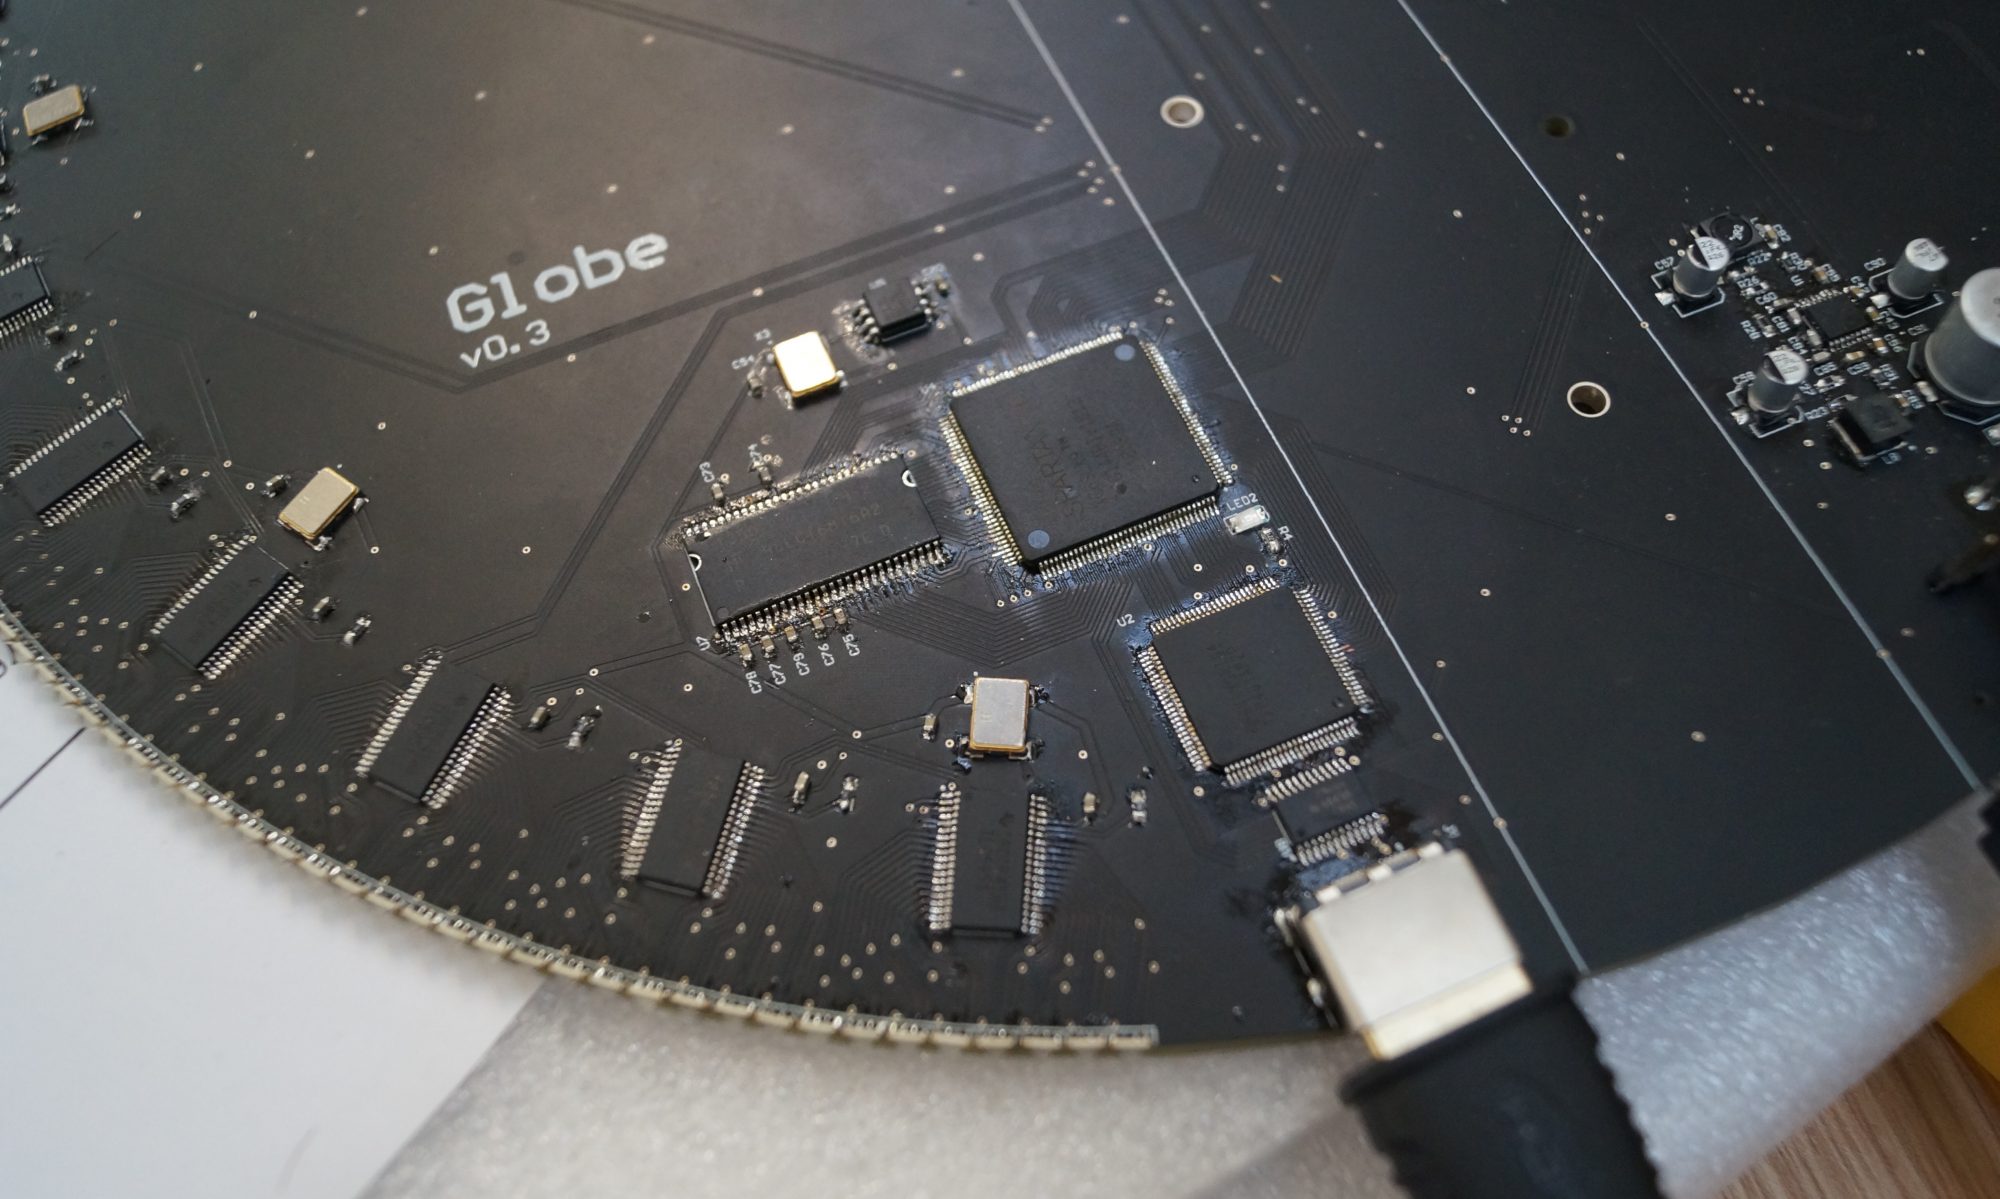
For anyone who is interested in programming a Spartan 6 FPGA directly from a Raspberry Pi’s JTAG pins.
Step 1 – Install Open OCD
sudo apt-get update
sudo apt-get install git autoconf libtool make pkg-config libusb-1.0-0 libusb-1.0-0-dev telnet
git clone git://git.code.sf.net/p/openocd/code openocd-code
cd openocd-code/
./bootstrap
./configure –enable-sysfsgpio –enable-bcm2835gpio note that there should be double hyphens before enable, not a single (silly wordpress)
make
sudo make install
Step 2 – Wire up the Pi
Depending on which Pi you have these pins may differ so check the pinout datasheets. You are looking for
TDO, TCK, TDI, TMS which on the CM3 are 24, 25, 26 & 27 respectively or 5, 13, 4, 12 respectively, depending on the mode. There pins should be wired to the corresponding JTAG pins on your Spartan 6 (though this applies to using the Pi to any JTAG device).
Step 3 – Setup the configuration files
Either modify or make a copy and modify the raspberrypi2-native or raspberrypi-native config file located at /usr/local/share/openocd/scripts/interface/
(update accordingly depending on your install directory) with the following modifications (the rest of this guide assumes you are using raspberrypi2-native):
1. uncomment and update “bcm2835gpio_jtag_nums” as appropriate to your Pi.
2. comment “bcm2835gpio_swd_nums”
3.Add the line “adapter_khz 250”
I found with one of my board revisions that due to ommitting termination resistors on the clock and data lines that I had to lower the adapter khz down to avoid getting issues when programming
Step 3 – Program the Spartan directly
Navigate to a directory with your .bit file in the terminal and run the following code
sudo openocd -f /usr/local/share/openocd/scripts/interface/raspberrypi2-native.cfg -f /usr/local/share/openocd/scripts/cpld/xilinx-xc6s.cfg -c “init; xc6s_program xc6s.tap; pld load 0 your bitstream; exit”
All being well you should now have programmed your FPGA directly.
Step 4 – Indirectly Program the SPI flash
The SPI flash is programmed in a similar way. The main difference is that a proxy bit file has to be loaded onto the FPGA first, which then facilitates the programming of the flash.
These bitstreams can be located pre-built from here:
https://github.com/quartiq/bscan_spi_bitstreams
Along with the Python tool for building them if you desire (requires ISE to be installed).
note: If you are using the currently released version of openocd (0.10.0 at the time of writing) make sure you are using the bitstreams from the single tap branch not the master branch. The version downloaded from this tutorial now appears to be the master branch so use the master spi_bitstream
You will also need to generate a .bin file rather than a .bit file to load onto the flash. To do so in ISE, open the process properties for “generate programming file” and select “create binary configuration file”.
Once built, move your designs .bin file and the necessary proxy .bit file into a folder and run the following code.
sudo openocd -f /usr/local/share/openocd/scripts/interface/raspberrypi2-native.cfg -f /usr/local/share/openocd/scripts/cpld/xilinx-xc6s.cfg -f /usr/local/share/openocd/scripts/cpld/jtagspi.cfg -c “init; jtagspi_init 0 your proxy bitstream; jtagspi_program your binary file 0; xc6s_program xc6s.tap; shutdown”
And fingers crossed, you should be done!
It seems a lot of the flash modules supported are quite difficult to get hold of. It is possible to update the list of supported modules by modifying the “spi.c” file located in the /src/flash/nor directory of the source openocd folder and then reinstalling openocd.
This master branch of OpenOCD supports a wider range of SPI flash, one of which is Cypress S25FL064L which is still in production so I would recommend using the master branch and incorperating this chip into your designs
